
1st Battle Report
By Alex
Overview
- Mission: Commanding Presence
- Forces: North (Northguard) versus North (UMF)
- Game Length: A little over 2 hours
Deployment
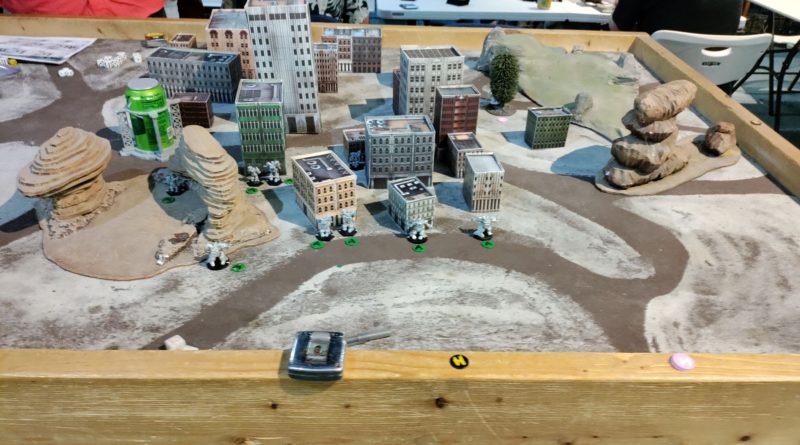
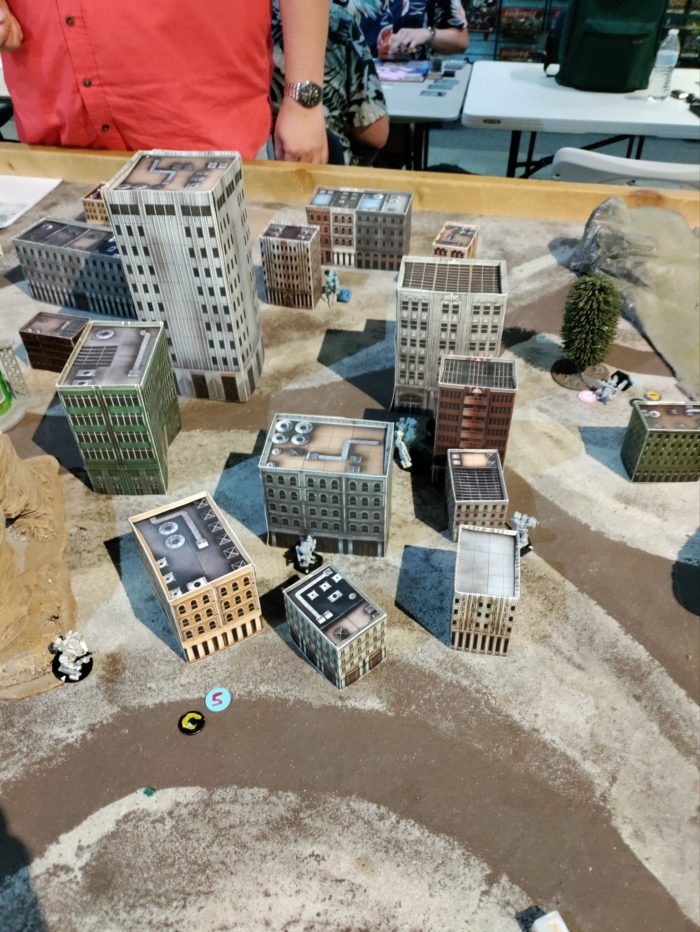
I deployed my strike group into the cover that they could mostly reach. My lion wasn’t able to reach the cover and my opponent had a better line on it than I thought. I deployed my recon force a little further up but in the same general area (the table was 4×6 but we cut off the 2 feet on the left to make it a 4×4 since we were using 100 TV). Lastly I placed my Lion melee duelist behind the rocky arch in the back behind everything else and it was a bad decision on my part. I ended up placing it about as far from the action as I could. I think I should have placed the recon group on the right side so they were closer to my capture objectives and more able to flank.
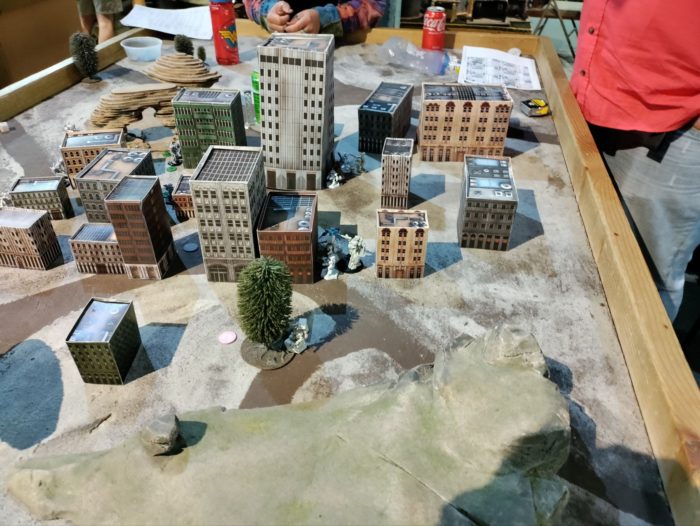
My opponent used recon deployments to deploy further up and he created a bit more of a line. I think that worked out well enough. I think he had been planning to flank me since I bunched up more but it didn’t work out (more on that later)
Objective Selection
Note: I think we made a mistake here and only selected 2 objectives each
- North (Northguard) Objectives
- Capture
- Assassinate
- N/A
- North (UMF) Objectives
- Assassinate
- Break the line
- N/A
Turn 1
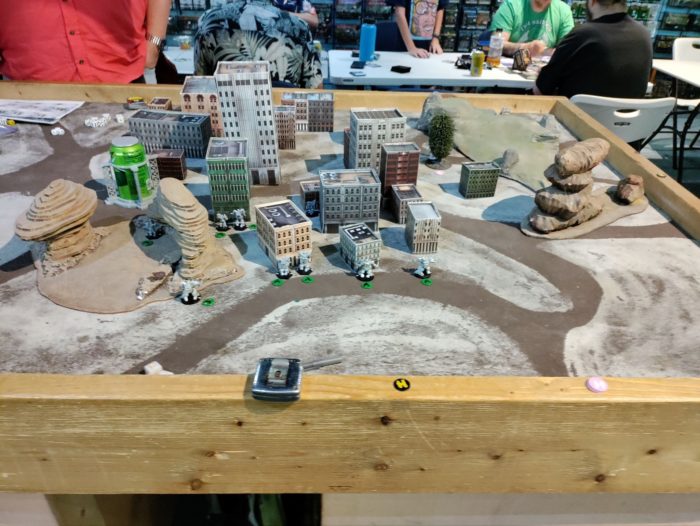
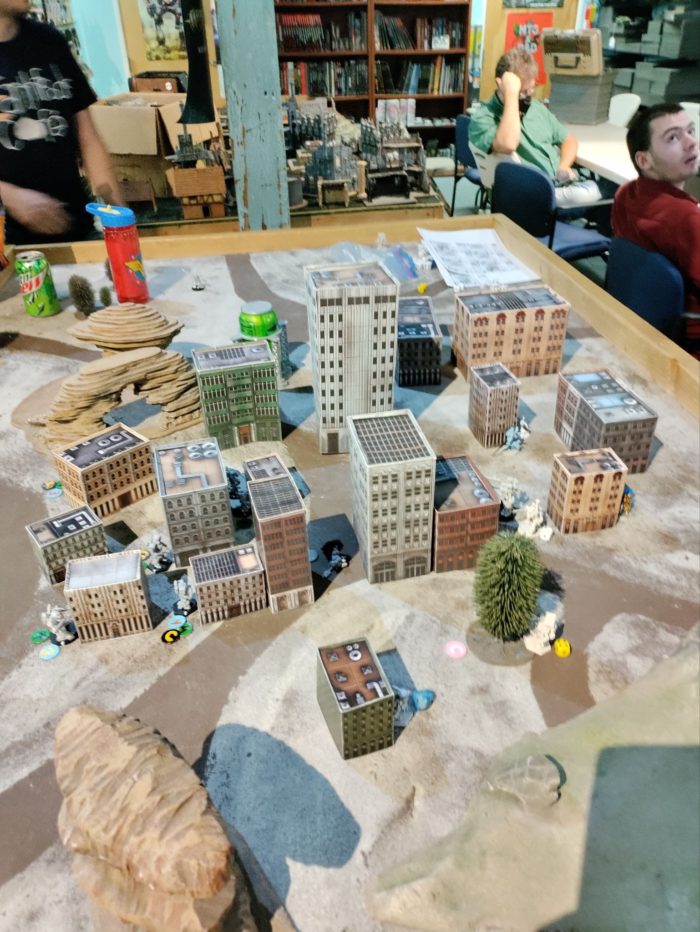
My opponent won initiative and activated his recon group. He haywired my duelist and lightning lion and did some damage to it with a sniper before it could get into better cover. He also started moving his weasel commander and the two mad dogs down the right side. While he didn’t spam units he did bunch his units up behind cover a lot. I ended up spamming rockets a lot since I was getting about 2-3 targets per shot. I also got unlucky this round and lost my tiger by rolling 4 snake eyes. One of my strike cheetahs bought it too. I injured some of his units but didn’t get a lot done. The picture is from the end of the round.
Turn 2/Turn 3
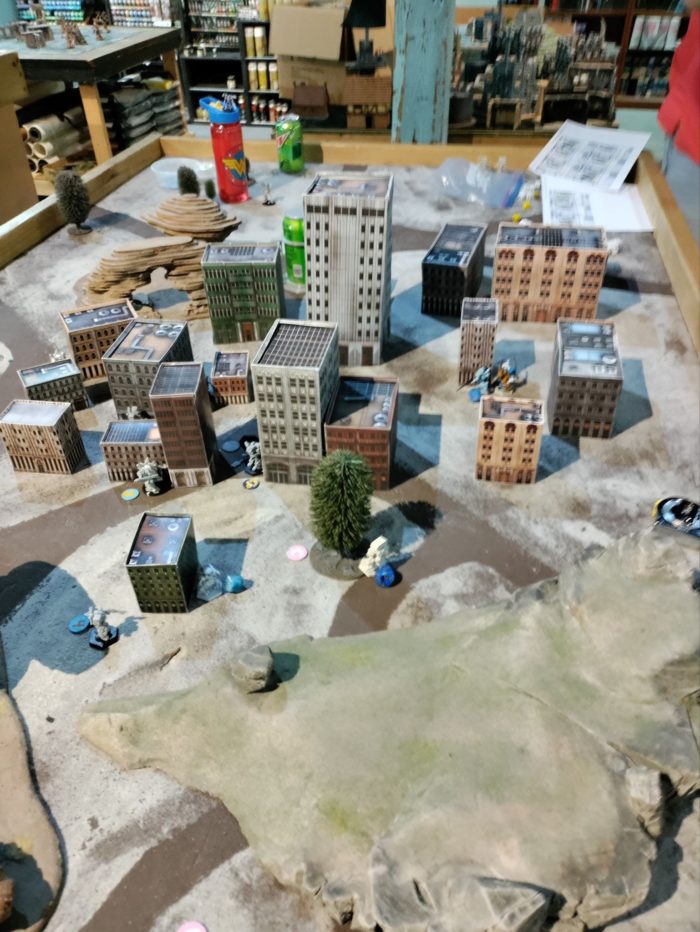
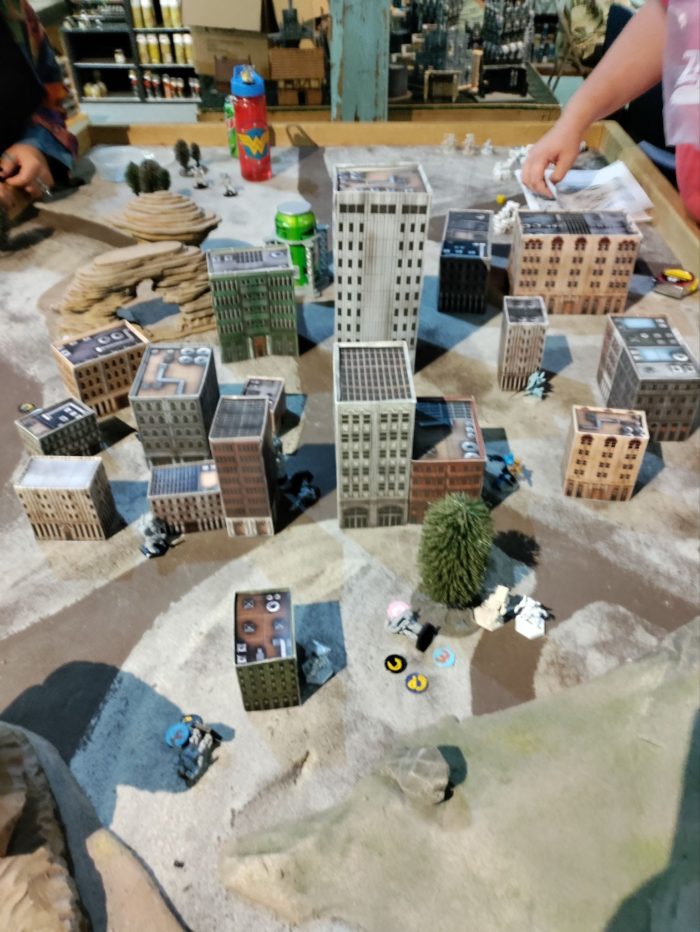
My opponent bunched up his mad dogs and weasel commander on the right side so I pelted them with rockets. I ended up obliterating one of the mad dogs and killing his commander so I scored a point for that on my assassinate objective. He pulled his mad dog back so that his engineer gear could try to get it out of crippled. We also volleyed back and forth in the city, mostly around the opening in the center. I lost my other strike cheetah and crippled his flash jaguar. He was able to heal a point of damage bringing it back into haul. I think I managed to protect my commanders really well with cover and ECM+. Also his grizzly really MVP’d by dodge tanking like a champ.
Turn 4
The last round was insane. We both moved in on my capture objective next to the tree and I was able to kill one of his units near it. This left me with more units near his capture objective and in the NE sector. I Haywired his grizzly but he was able to use it’s linked medium rockets to kill both my units at my capture objectives with some good luck and a rear arc shot. This was devastating since I didn’t have any other units near that objective or in that sector and I think he scored a point for assassinate. He also tried to use his wild ferret to finish off my lion duelist but was unable to. He had to get pretty close due to terrain so I got my lion behind him and one hit KO’d him with linked, brawl 3 medium spike guns. This was big for me since it denied him his break the line objective and let me take control of that sector. These two big swings caused us to tie with 3 VP each. I just barely lost when we totaled TV.
Final Score: 3 points for Me, 3 points for the opponent
Final TV Remaining: 34 TV remaining, 42 TV remaining for the opponent
Victory goes to my opponent
Post Game Analysis
This was my first full game and I had a blast. Even though I lost I love the games where it’s real close and you’re not sure who won until the end. I made a bunch of mistakes. I should have deployed my strike team outside the city on the right side so that I was closer to my capture objectives and could try to flank. I also really got bogged down in the city itself. That would have let me put my duelist closer to the action. I ended up basically putting him as far away as possible and he only got to melee something when it came to him. I also ecm attacked a unit, heywiring it as part of the last activation of a round. It didn’t feel like this mission objective really mattered a lot until the end since the points are scored at the end of the game.